
No products in the cart.
How to Use TCA Peel at Home: The Professional Safety Guide
 By admin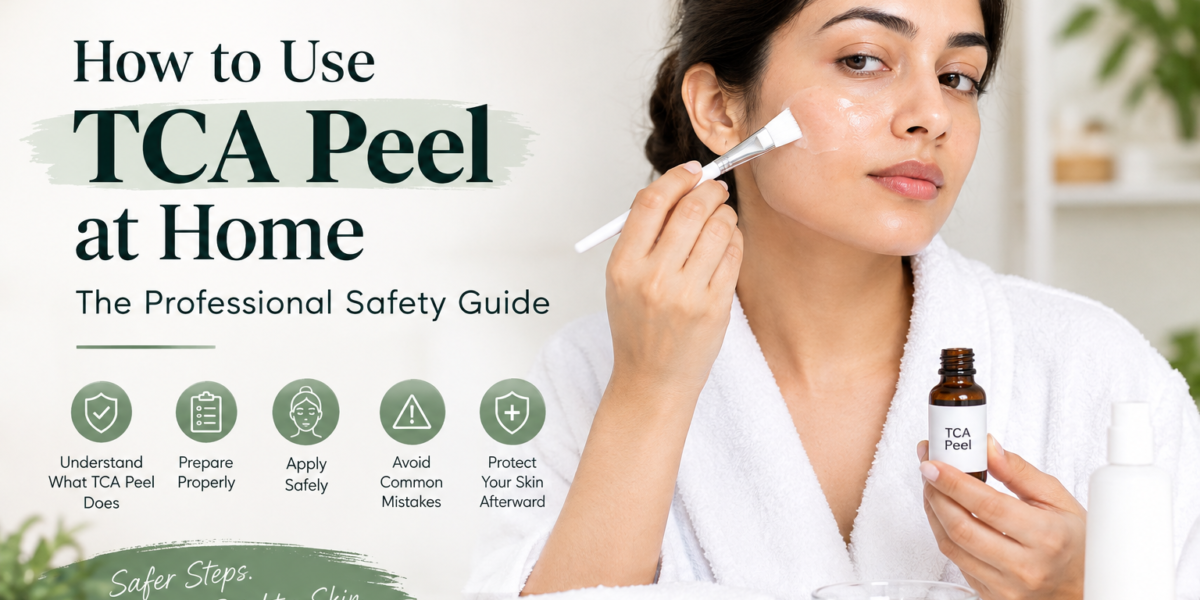
How to Use TCA Peel at Home Safely: A Clinical Guide
Learning how to use a TCA peel at home requires a shift in mindset. This is a clinical procedure, not a casual skincare routine. Trichloroacetic acid (TCA) is a potent chemical exfoliant that reaches deeper layers of the skin than standard over-the-counter AHAs. To get professional results safely, you must follow a strict protocol. This involves degreasing the skin, controlled application, and precise neutralization. When done correctly, a TCA peel significantly improves skin texture, clears hyperpigmentation, and softens fine lines.
Related: [[Home – Kiaeva](https://kiaeva.com/)](https://kiaeva.com)
Understanding TCA: Why Professional Grade Matters
TCA is a non-toxic chemical used for medium-depth skin resurfacing. Unlike Glycolic or Lactic acids, which work on the surface, TCA causes skin proteins to coagulate. This process sheds old skin layers and triggers new collagen production. Using a professional-grade formula, like those from Kiaeva, is vital for safety. These acids have consistent pH levels and concentrations. This ensures the "strength" on the label matches the activity on your skin. Predictability prevents chemical burns often caused by low-quality, unverified solutions.
Safety First: Essential Precautions
TCA requires respect and preparation. It is not a "beginner" acid. Prioritize your safety by following these rules before you start.
The 24-Hour Patch Test
Never apply TCA to your full face without a patch test. Apply a small amount of solution behind your ear or on your inner forearm. Wait 24 hours to check for excessive swelling, blistering, or allergic reactions.
Identifying Contraindications
Do not use TCA if you are pregnant, have active cold sores, or have used Accutane in the last six months. Stop using Retin-A, Tazorac, or high-strength Retinol at least five days before your treatment.
Selecting the Right Percentage
Beginners should start with a 10% to 15% TCA solution. Reserve higher concentrations (20%+) for when you understand how your skin recovers from lower strengths.
Required Supplies for Home Treatment
Gather your supplies before opening the acid bottle. You cannot stop mid-procedure to find a tool.
- Prep Solution: Use a medical-grade degreaser or 70% Isopropyl alcohol.
- TCA Acid: Your professional-grade solution.
- Neutralizer: A mixture of baking soda and water or a professional neutralizing spray.
- Application Tools: Use 2×2 gauze pads. Gauze provides better control and won't drip like cotton balls.
- Protective Barrier: Petroleum jelly for the corners of the eyes, nostrils, and lips.
- Gloves: Nitrile gloves keep your fingertips from peeling.
Step-by-Step: How to Use TCA Peel at Home Safely
Follow these instructions exactly to ensure an even, safe result.
- Cleanse and Degrease: Wash with a soap-free cleanser. Once dry, wipe the skin thoroughly with your prep solution. Any remaining oil will cause "hot spots" where the acid penetrates unevenly.
- Protect Sensitive Areas: Apply a thin layer of petroleum jelly to the outer corners of your eyes, your lips, and the creases of your nose.
- Application: Saturate your gauze pad so it is damp but not dripping. Apply the TCA using firm, consistent strokes. Start at the forehead, move to the cheeks, and finish with the chin and nose.
- Timing: For your first peel, one layer is enough. Leave the acid on for 2–5 minutes, depending on your comfort and the appearance of "frosting."
Identifying the "Frost"
"Frosting" occurs when the acid coagulates keratin proteins, making the skin look white.
- Level 1 Frosting: A light, scattered white appearance or redness. This is the ideal goal for most home treatments.
- Level 2/3 Frosting: A solid, opaque white sheet. This indicates deep penetration. If this happens, neutralize immediately to prevent scarring.
If you feel unbearable heat or see instant opaque white patches, stop the process.
Post-Peel Care and Neutralization
Once your time is up or you see frosting, you must stop the acid's activity.
- Neutralization: Splash your neutralizing solution over your face several times. You may feel a temporary "fizzing" and a brief spike in heat. This is a normal chemical reaction. Continue until the stinging stops.
- Rinse: Use cool water and pat dry gently.
- Hydrate: Apply a lipid-rich recovery balm or a fragrance-free moisturizer.
- Sun Protection: Your skin is now highly photosensitive. Use a broad-spectrum SPF 30+ every morning. UV exposure during healing can cause permanent dark spots.
The Recovery Timeline
The peeling process follows a predictable clinical timeline. Do not panic as your skin changes.
| Day | What to Expect | Action Required |
|---|---|---|
| 1-2 | Skin feels tight; looks red or "tanned." | Use gentle cleanser and moisturizer. |
| 3-5 | Skin "cracks" and begins to peel. | Do not pick. Keep skin hydrated. |
| 6-10 | Peeling finishes; new skin is revealed. | Continue SPF; avoid active ingredients. |
| 14+ | Texture improves; collagen builds. | Slowly resume your regular routine. |
The "no-pick" rule is vital. Pulling off skin before it is ready causes raw spots, infection, and permanent scarring. Let it shed naturally during washing.
Common Mistakes to Avoid
Even with instructions, beginners often make these errors.
- Overlapping Layers: Never apply multiple layers during your first few treatments. This drastically increases the risk of deep tissue damage.
- Ignoring the 72-Hour Rule: Avoid heavy sweating, saunas, and steam for three days. Heat can trap inflammation in the skin and cause post-inflammatory hyperpigmentation.
- Premature Exfoliation: Do not use scrubs, washcloths, or cleansing brushes to "help" the peeling. Let the process finish on its own.
Using a TCA peel at home is a powerful way to resurface your skin. By using professional-grade products and following these safety protocols, you can achieve a clearer, more youthful complexion safely. Always prioritize the health of your skin barrier over fast results.